Machine Images
Machine images are a fundemental part of Compute services. A machine image is a single file which contains a virtual disk on which a bootable operating system is installed. It allows a user to create a VM instance with any OS.
Image Requirements
Machine images can be created from the following source formats:
VMware OVA image.
KVM compatible image in RAW or QCOW2 formats.
Note
Openstack KVM images can be used with the KVM compatible image option.
Supported images must meet the following requirements:
The image must be a single bootable system disk.
The image must be configured to receive a network address via DHCP.
User access to the VM instance is required and depends on the image type:
Windows Image - use VNC or enable Remote Access Service.
Linus Image - use SSH server service.
Image Creation
Images can be created from different UI views.
Create Images from Machine Image View
To create image from Machine Image view:
Navigate to the Main menu > Machine Images view and select Images.
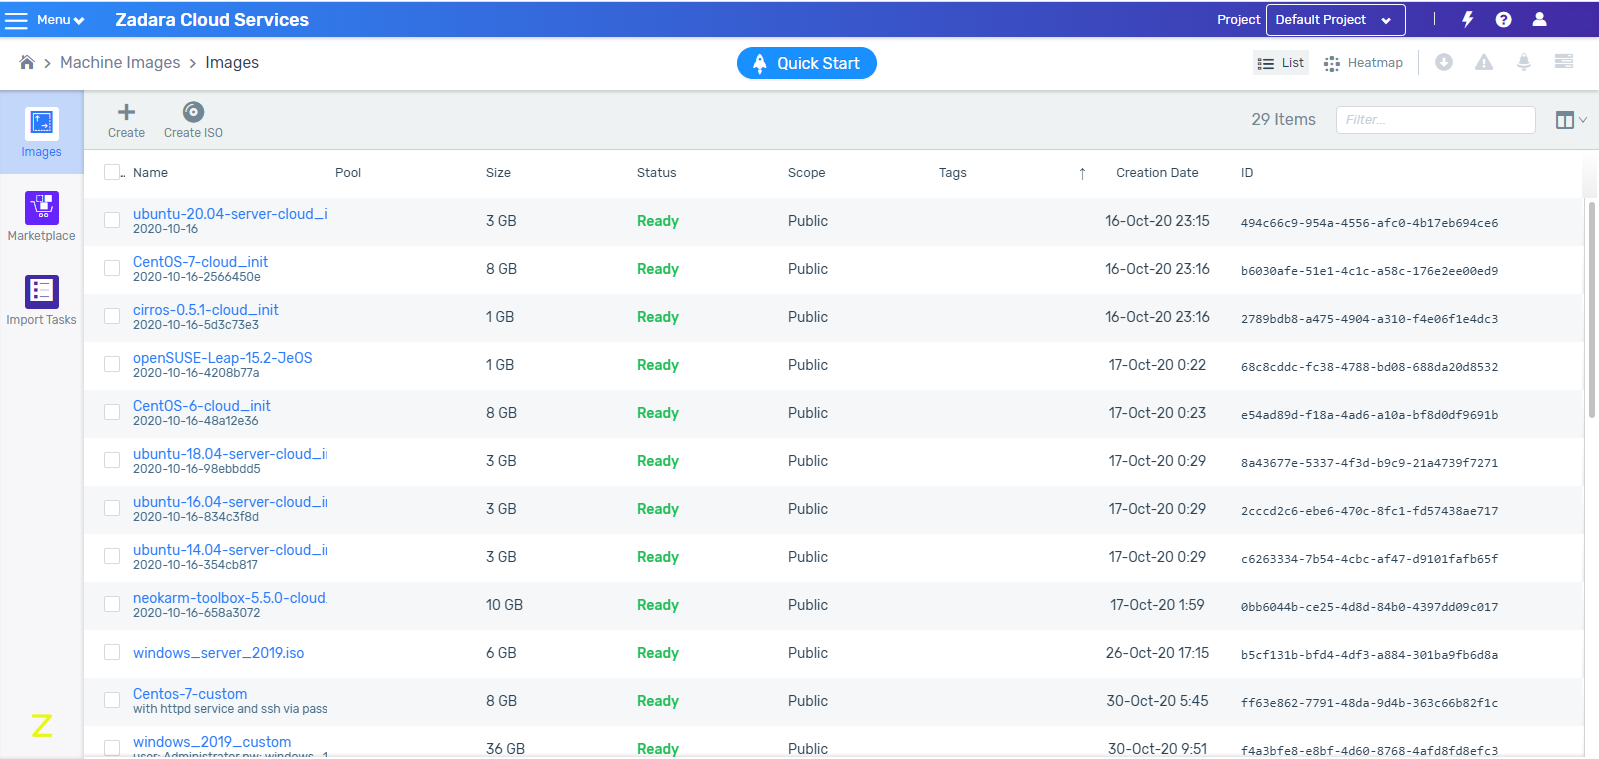
In the displayed image list view, click Create in the top toolbar.
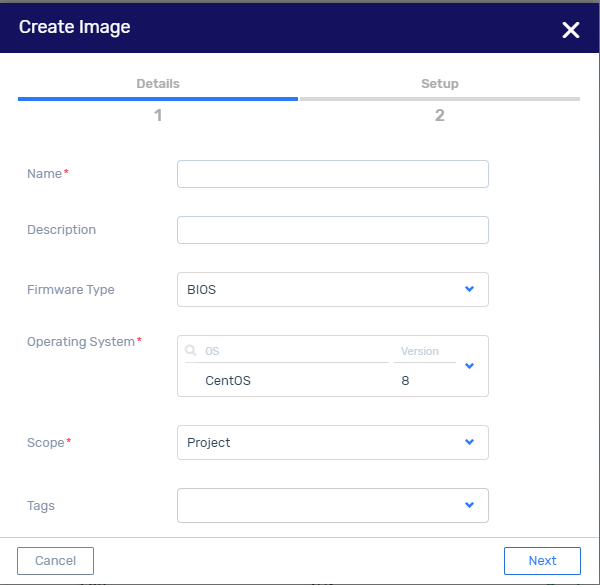
In the Create Image window, configure the following:
Name - name that will identify the image.
Description - description that will help identify the image purpose.
Firmware Type - select UEFI or BIOS.
Operating System - select the required operating system.
Scope - determines which users can access this image:
Project - only users with access to the project.
Account - all account users.
Tags - attach one or more tags to the image.
Click Next.
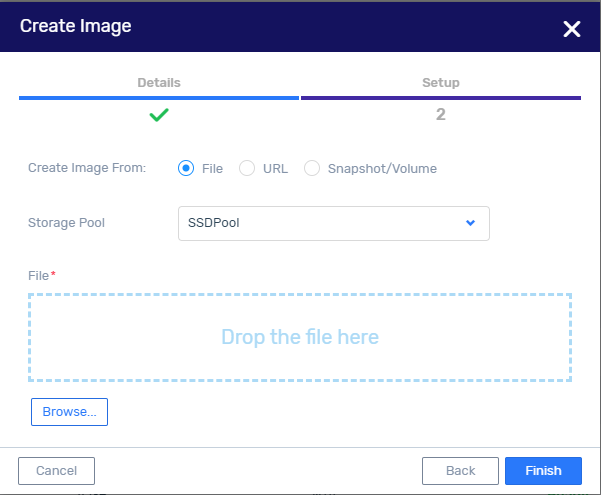
In the Setup tab, configure:
Create Image From: - the source to use for creating the new image. When you select one of the source options, the next field is updated as follows:
File - configure:
Storage Pool - select to which storage pool the image file will be uploaded.
File - drag the image file into the File box, or browse to the file and select it.
URL - configure:
Storage Pool - select to which storage pool the image file will be uploaded.
Use Legacy IDE - select legacy IDE or native IDE.
Override Size - select whether to keep the image the same size or to override it. To override the size, enter the new size.
Disk Type - select whether to attach the image file as a Disk or CDROM.
Snapshot/Volume - configure:
Snapshot/Volume - source to be used to create image.
Storage Pool - select to which storage pool the image file will be uploaded.
Use Legacy IDE - select legacy IDE or the native IDE.
Override Size - select whether to keep the image the same size or to override it. To override the size, enter the new size.
Disk Type - select whether to attach the image file as a Disk or CDROM.
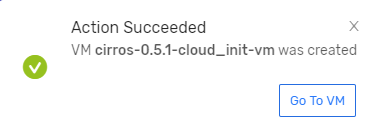
Click the Finish button. The image begins to be created. When the uploading progress is completed, the Action Succeeded message is displayed.
Create Images from Storage View
New image creation from an existing volume can be done from the storage view as well. Create an image from a volume, either directly from the volume or by using a snapshot of the volume. If the volume is currently not attached to a running VM instance, create an image as described below. If the volume is attached to a running VM instance which can not be stopped, first detach the volume and create a snapshot, and then create an image from the snapshot.
To create an image from a volume in storage view
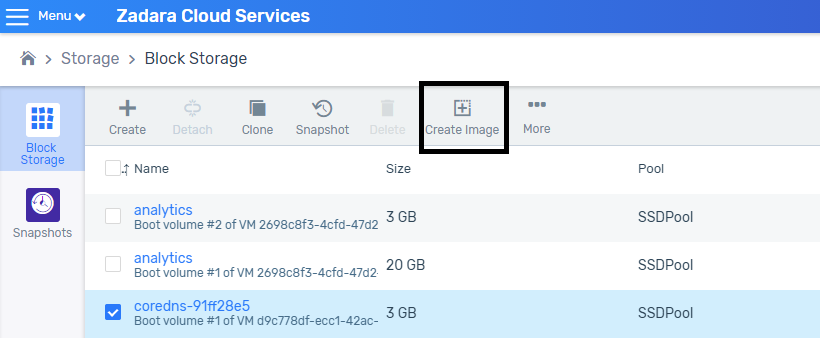
Navigate to the Storage > Block Storage view.
In the displayed list, select the volume to be used to create the image.
In the top toolbar, select Create Image.
In the displayed Create Image From Volume window, configure the following:
Name - name that will identify the image.
Description - description that will help identify the image purpose.
Tags - attach one or more tags to the image.
Operating System - select the required operating system.
Click OK. The new image is displayed in the Machine Images > Images list.
Note
If you select a non-bootable volume as the source of an image, the OS will not boot.
Create Images from Snapshot View
The system permits creation of images from a volume snapshot. Using a volume snapshot as the image source allows the user to create the image without stopping the VM instance or detaching the volume.
To create an image from a snapshot:
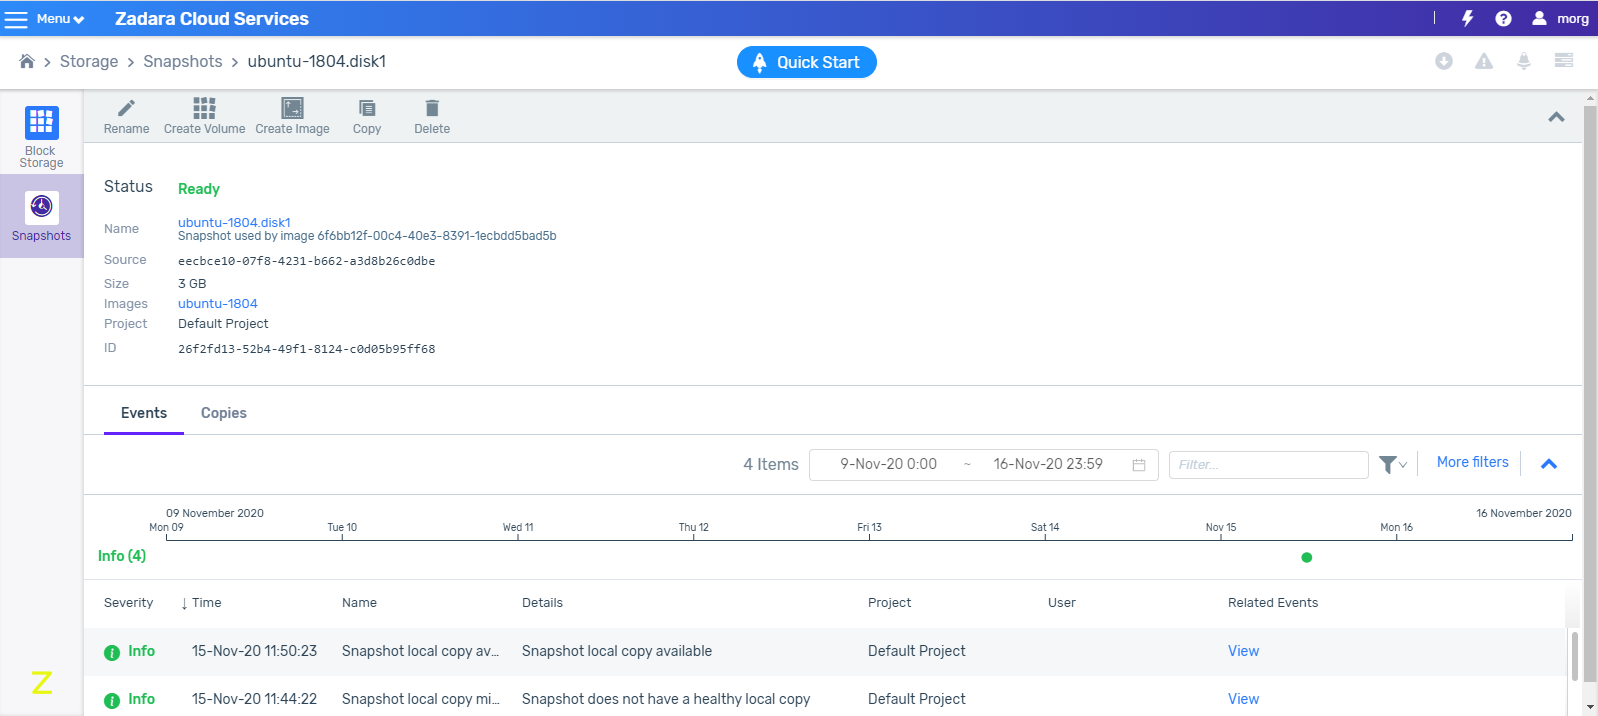
Navigate to the Storage > Snapshots view.
In the displayed list, select the snapshot to be used for creating the image and click Create Image from the top toolbar.
In the displayed Create Image window is displayed, enter the Name of the new image.
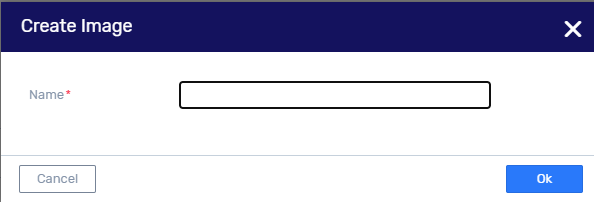
Click OK. The new image is displayed in the Machine Images > Images list.
Creating ISO Images
ISO images can only be created from the Machine Images UI view.
Navigate to the Main menu > Machine Images view and select Images.
In the dispalyed image list view, click Create ISO from the top toolbar.
In the displayed Create ISO Image window, configure the following:
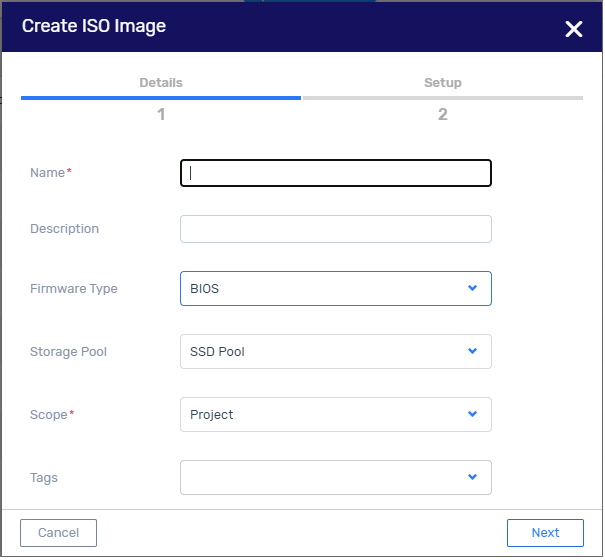
Name - name that will identify the image.
Note
When creating an ISO image in Zadara Cloud Services, the name of the image must end with the ‘.iso’ extension.
Description - description that will help identify the image purpose.
Firmware Type - select UEFI or BIOS.
Operating System - select the required operating system.
Storage Pool - select the specific storage pool to which image should be uploaded.
Scope - determines which users can access this image:
Project - only users with access to the project.
Account - all account users.
Tags - attach one or more tags to the image.
Click Next. The Setup > OS Installation Disk window is displayed.
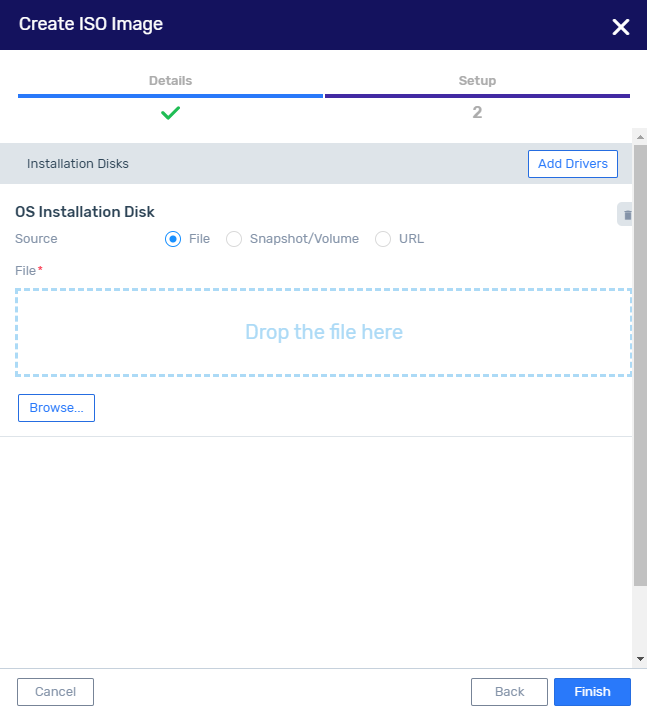
Depending on the selected source option, configure the next field as follows:
File - drag the image file into the File box, or browse to the file and select it.
Snapshot/Volume - configure the source snapshot/volume to be used to create image.
URL - enter the URL of the image file and check Skip SSL verification if needed.
For ISO image creation, select Add Drivers to include drivers for use during and after the operating system installation. The additional drivers disk can be created from an existing file or snapshot/volume.
Click Finish. The ISO Image is displayed in the Images list.
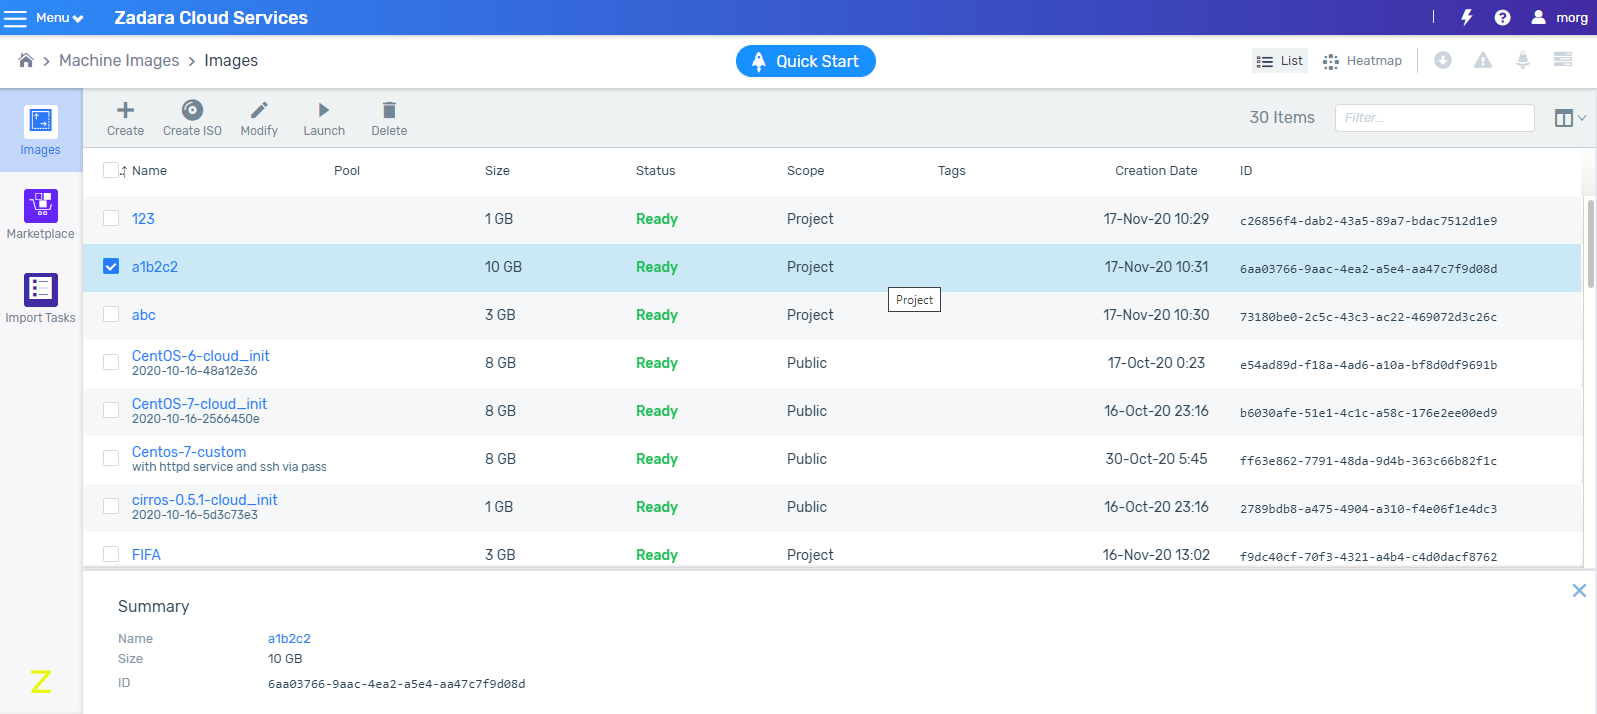
Deleting Images
Navigate to the Main menu > Machine Images view and select Images.
From the displayed list, select an image and click Delete from the top toolbar.
In the Delete Image window, click Delete.
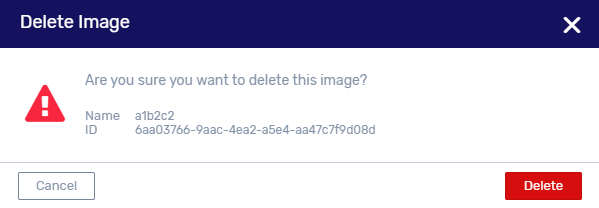
The Image is deleted, and the following message is displayed: Action Succeeded.

The Marketplace
The following tested images can be downloaded from the Machine Images > Marketplace view.
NeoKarm ver. 5.5
CentOS ver. 6, ver. 7
CirrOS ver. 0.5.1
Debian ver. 9, ver. 10
Fedora ver. 32
OpenSUSE ver. 15.2
Ubuntu Bionic ver. 18.04-LTS
Ubuntu Xenial
To download an image from the Zadara Marketplace:
Navigate to the Machine Images > Marketplace view.
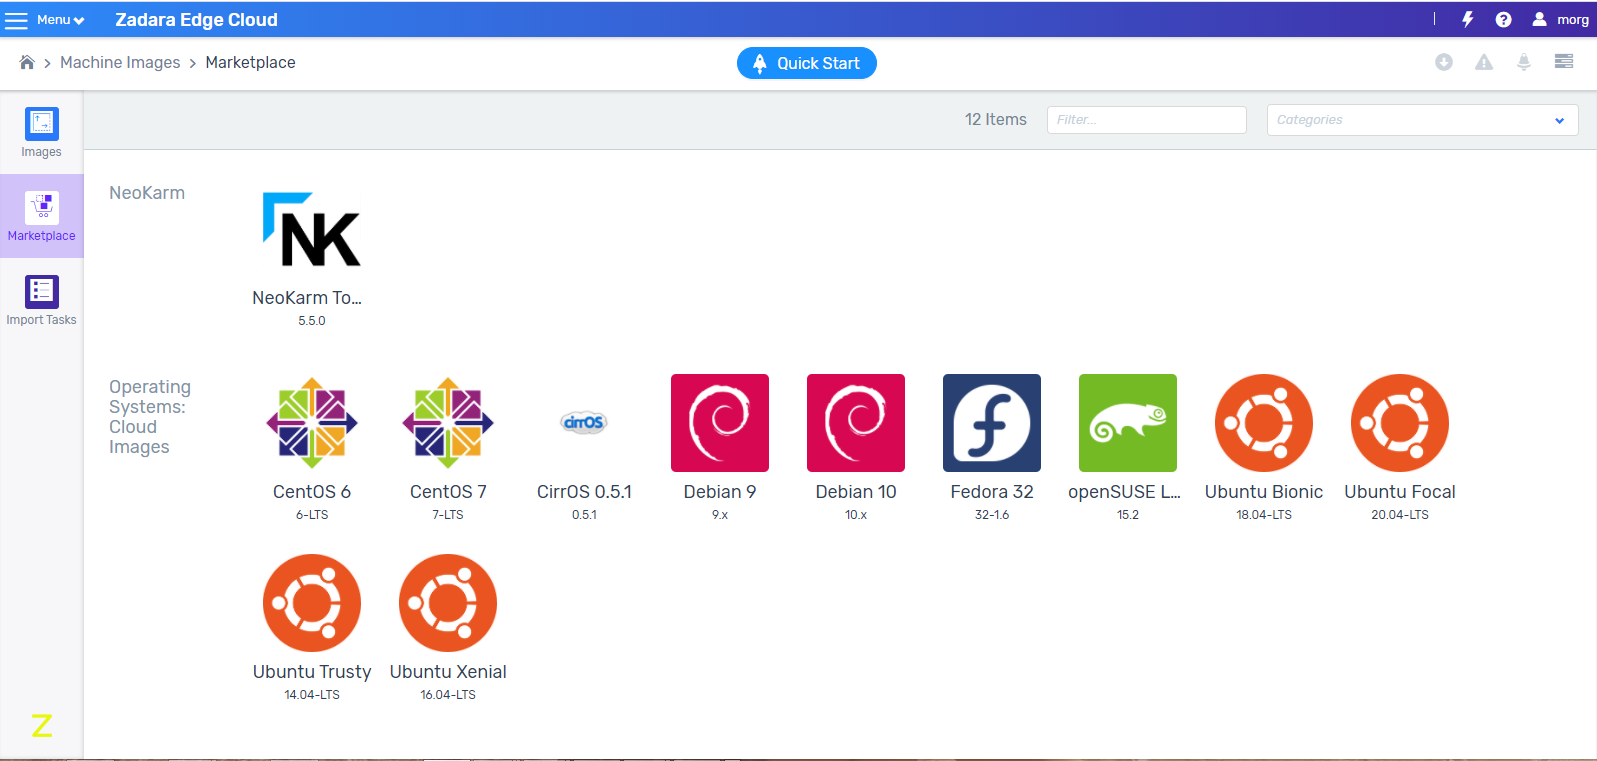
Select the image to download.
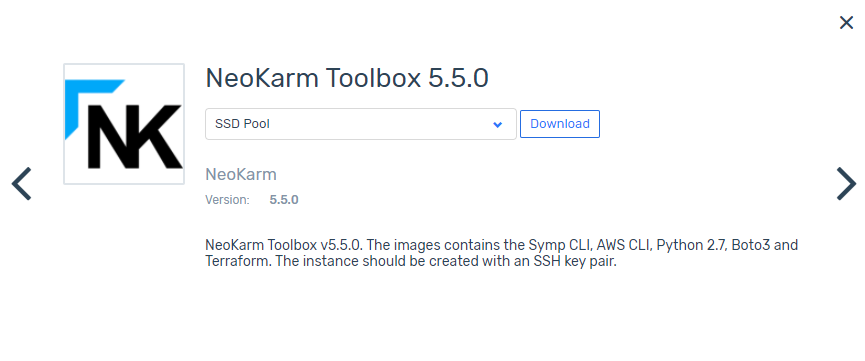
In the window which opens, click Download. A new image is registered in the system and will appear in the image list.
AWS Image Import API
The following table describe the support AWS APIs for Image operations:
AWS API Name |
Ignored Params |
Optional Params |
Required Params |
Unsupported Params |
|---|---|---|---|---|
ImportTaskId MaxResults NextToken |
||||
[] |
Architecture ClientData ClientToken Description DiskContainer Hypervisor LicenseType Platform RoleName |
[] |
[] |